
Why transplant?
This is simply to give each seedling the space it needs to grow strong and healthy !
- When the seedlings are packed against each other, they struggle each other for water and nutrients in the soil.
- Everyone seeks the light and withers in the hope of rising above the crowd.
- Weak links become vulnerable to disease and contaminate their neighbors with disastrous results.
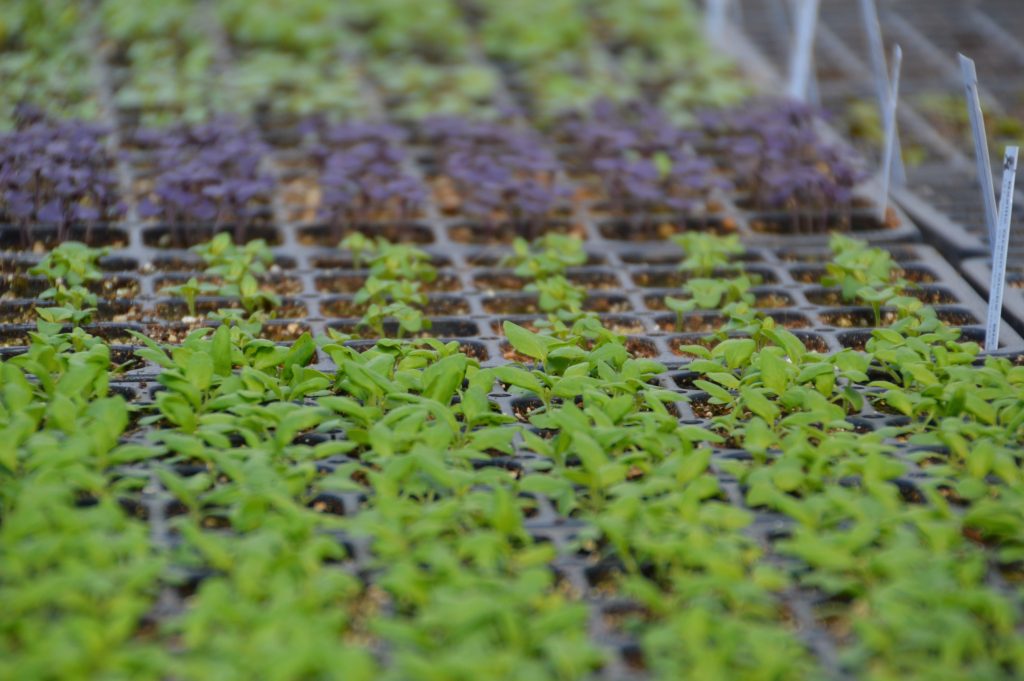
What to transplant?
Sowing in a row or broadcast in trays indoors : we transplant them into individual pots or we space them in a deeper tray.
- When the temperature permits, they are transplanted to their final location in the garden or in large containers.
Seedlings in pockets indoors : we sometimes have to transplant them into a larger pot before transplanting them outside.
- As these are often plants which tolerate poorly transplantation, we avoid doing it. Instead, we sow them in containers that will meet their needs until it is time to transplant them into the garden or in large containers.
Online seedlings outdoors : we can transplant them, if necessary, but most often, we simply eliminate the excess seedlings.
When to transplant?
Row or broadcast seeding indoors or outdoors : we transplant the seedlings as soon as they display their first pair of true leaves.
Sowing in pockets : we transplant the young plants into a larger container when their roots have colonized all the soil in the container or we transplant them outside when the temperature permits.
How to transplant?
In the case of transplanting bare root seedlings – those that are taken out of the ground and not from a container – the root damage are unavoidable and cause transplant shock.
- Un significant shock can lead to premature bolting, reduced disease resistance or a disappointing harvest.
Limit damage from transplant shock
Before transplanting, we can harden off plants by slowing down their growth. To succeed :
- watering is spaced out to cause slight stress,
- we reduce the temperature a little to harden them,
- in the case of transplanting outdoors, the plants are gradually exposed to the elements over a period of 7-10 days.
At the time of transplanting :
- we loosen the soil where the plants will be transplanted and add the necessary amendments;
- we make sure that it is damp, but not soggy;
- we make sure to keep the roots of the young plants very fresh.
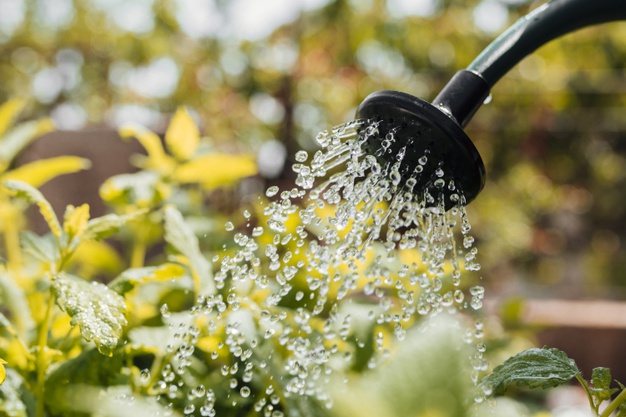
After transplanting :
- Water copiously around the plants to compact the soil and moisten it completely without saturating it with water.
- If possible, shade young transplants with a fine veil to prevent them from water stress before they have a chance to take root.
Various transplanting techniques
The transplanting technique differs depending on the rooting of the seedlings and the depth at which the collar of the plant is placed.
According to rooting
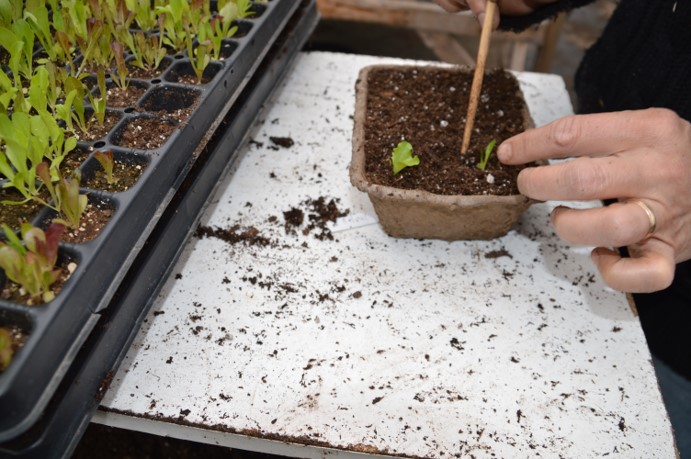
Transplanting Bare Roots
This technique applies to row or broadcast sowing done indoors or outdoors:
- We insert a pencil or a small stick into the soil under the seedling;
- We carefully lift it while holding it by a cotyledon (see Box), never by the stem ;
- You form a hollow in the soil of your new location (tray, pot or garden) with your finger or a round stick;
- Place the seedling there and gently pack the earth around its roots.
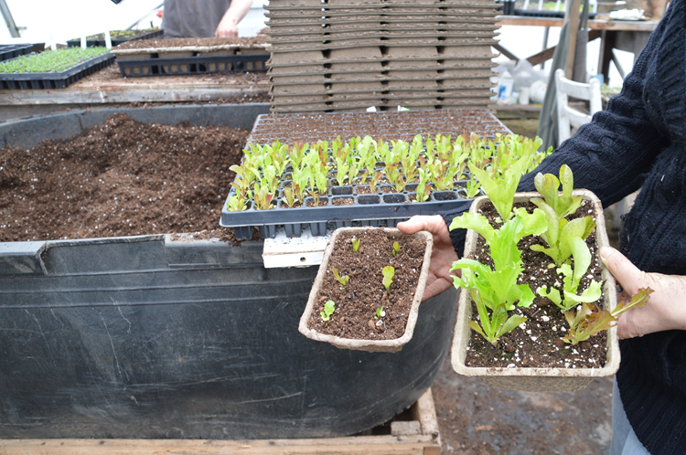
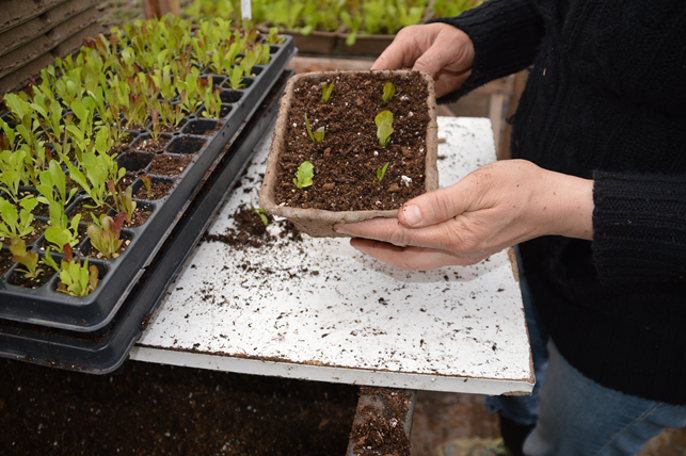
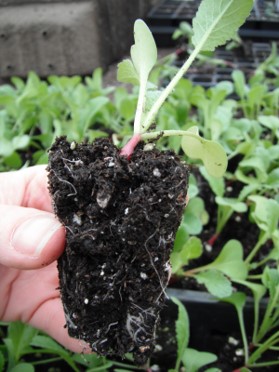
Transplanting the clods
A clod is equivalent to the soil colonized by the roots of a young plant that is removed from a pot or from one of the cells in a multi-cell tray. The clumps are obtained with the seedlings in pockets inside:
- Remove the root ball by tapping the edges of the container;
- We place our hand on top of the pot, passing the plant between our fingers and we turn the pot upside down;
- We grab the root ball with the other hand and place it in the hole of its new location (large pot or garden).
- Then, we compact the earth around the mound.
Depending on the depth of the collar
Floating collar transplanting
To avoid crown rot in sensitive varieties, leave it above ground during transplantation.
- This technique is suitable for strawberries, lettuce, chicory, beets and artichokes.
Land collar transplanting
Here, the plant is buried up to the base of the cotyledons. The collar is thus found at ground level.
- This technique is suitable for the majority of plants.
Buried collar transplanting
The stem of some varieties readily produces roots. To obtain more robust plants, we bury the crown and the first true leaves of these plants.
- This is the case for tomatoes, eggplants, peppers and cabbage.
Other varieties that we want to whiten are also transplanted deeply.
- Leek and bulbous fennel are among them.
Cotyledon and true leaf
The cotyledons are the first 2 small leaves that emerge from the seed. They do not resemble the leaves which subsequently develop and which are called real leaves.
Our pictograms provide you with information!
For beginners and experts alike, transplanting certain plants represents a high-risk adventure!
Before embarking on costly trial and error, check online on the sheet of the selected variety what our pictograms tell you:
![]() Not recommended : The very difficult transplantation of this plant requires very specific conditions that are impossible to recreate without a well-equipped greenhouse; sow these varieties in pots only, preferably in a biodegradable container or in the ground.
Not recommended : The very difficult transplantation of this plant requires very specific conditions that are impossible to recreate without a well-equipped greenhouse; sow these varieties in pots only, preferably in a biodegradable container or in the ground.![]() Difficult : The difficult transplantation of this plant requires precautions to be taken; be sure to respect the time of year favorable to recovery, the ideal soil temperature and the techniques recommended for transplanting and monitoring watering.
Difficult : The difficult transplantation of this plant requires precautions to be taken; be sure to respect the time of year favorable to recovery, the ideal soil temperature and the techniques recommended for transplanting and monitoring watering.![]() Easy-to-use : The easy transplantation of this plant does not require special care; Above all, make sure to water it well until growth resumes.
Easy-to-use : The easy transplantation of this plant does not require special care; Above all, make sure to water it well until growth resumes.
